| Home | Newsletter | Locations | Diary |
|
Indexes |
|
|
|
|
Article How to Photograph Windmills
The many variables When we come to photograph windmills, we have a variety of variables to consider, this includes:-
Often we need to make an exploratory trip to see what is at the location, what angles will work and work out when and from where we want to take a photo again. These reccé trips were essential before we started producing the location guides but now given the information available to you, you may be able, using these and the mapping links to cut out a personal reccé trip in most cases. So far we have not looked at any photographic variables. We have two major photographic challenges, particularly when we are closer to tower mills, exposure and perspective. Of course we still like all photo challenges still need to also consider the colour/white balance and focus as well. Exposure We can't use gradated filters to overcome the problem of bright skies, as we would graduate the windmill as well. If we underexpose to capture the sky and then edit to bring back detail, then as we often have a black subject this is often not ideal. Of course we could use a tripod, take two exposures, one for the windmill and the second for the sky and combine them in editing, but many people don't like having to do this, or the similar solution of an image made up from two versions the same raw image, with different exposure variations. You may think that this is not a major problem looking through the location guides but just about every picture has been edited. If you look particularly at the images by others, and click on their name you will in most cases see the image before I adjusted it. From this you will see that most photos of windmills suffer from the same problem of being very dark. In most cases we have used a very quick fix in Capture NX, but a few of our images you will see we have attacked with Photoshop as well, but this has mainly been in an attempt to correct perspective which we will come to shortly. What you have to avoid doing is either making the images so dark that its unrecoverable or metering off a large black item that then results in massive over exposure as the camera tries to make this item grey. This is less of a problem for those with more advanced metering skills, but can, even for them, prove a challenge on occasion.
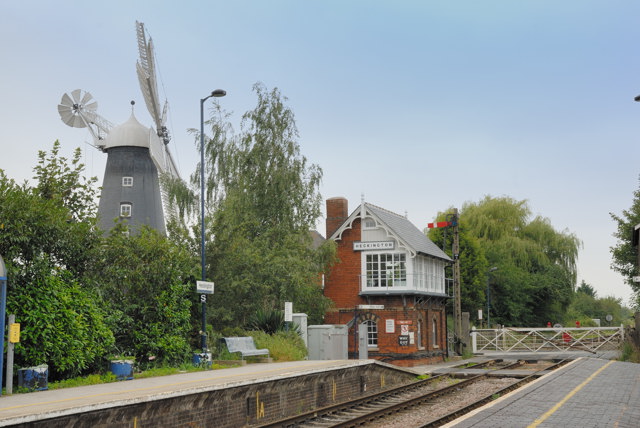
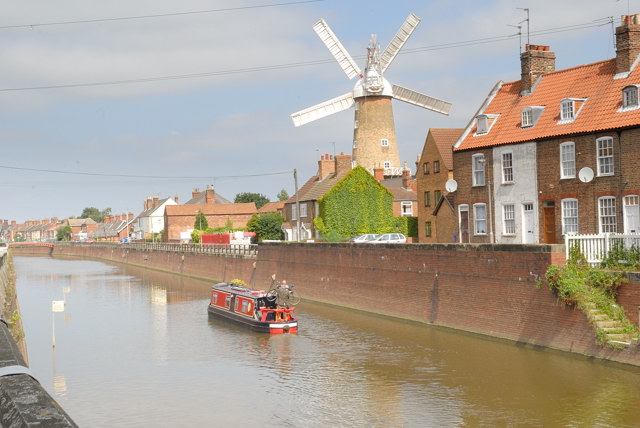
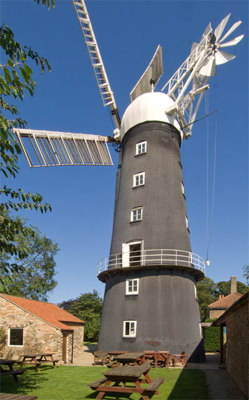
In very many cases we find windmills within an enclosure, fields or a yard, and particularly if a large mill we probably can't get back far enough to get the entire windmill in without using both a very wide lens and tilting it upwards. Given that you don't have a tall pole system to put your camera on or a friend with a helicopter, we have to get the best compromise and then deal with the results. Perspective control by editing in Photoshop, is possible but far from ideal. There is a limit to how much you can do this way. If you plan to do this make sure that you take a photo with extra room at both the top and sides, as the image reshapes the bottom becomes narrower and top is lost. You ultimately have to section the image to get it back to a rectangular print. The two images alongside the perspective discussion above show what can be done fairly easily. We have looked at the problems of building
sloping back, explored solutions and looked at perspective control lenses
before. Read more. Colour Balance If you are some way off and its a general shot that you don't want to be too critical with you can use auto white balance or better the relevant light setting, sunny, cloudy etc. More ideal is to use the Pre setting. If you are closer so that the windmill becomes a large chunk in your image then it is likely to throw auto white balance out, but black mills won't have too much effect. The best solution is to use the Pre setting, and you avoid problems. The following articles cover in more depth the areas of white balance: Focusing You might think that focus is not a problem
and you are most likely correct as the wider the angle of your lens the
greater your depth of field is, and this is likely to overcome most problems.
If you have a very tall mill, for example the one that is 100ft and you are
taking it from 30 feet away, then you are 30ft from the bottom but around
125ft from the top. Checking my
depth of field
Identifying the windmill In most areas of the country knowing which windmill you have photographed is not a problem, they are not that numerous and there are differences, height, number floors/windows, number of sails and sail types, possibly roof shape and more. It becomes more difficult in areas that have very similar windmills. In these locations, when you are photographing a number of mills in a day, you need to at least have a separator, so you know for sure where one ends and the next begins. A separator could be as simple a taking a junk shot of the ground. Some areas of Norfolk present a larger challenge as there are very large numbers of drainage windmills, many derelict and many not well documented. As far as I am aware there is no complete listing of these, we are still adding more to our indexes, but this is difficult as most are not near any villages but out along various drains. With few reliable landmarks, very similar mills and with some of these very close together, it is very easy to mix these up, one with another, many people do, which also means that reliable identification from other images is also difficult. A solution I am looking at is to add a GPS device that will feed the exact position that images are taken from and the direction of the camera into my Nikon D300 and this will then become a part of the data for the pictures. See Also:
|
|||||||||
|
|||||||||
|
.
|
|||||||||
|
|